This tutorial will show to determine an optimal Receive Volume (RX) level on your audio interface for operating (or only receiving) digital modes. My tutorial showing how to setup your audio interface in Windows is the starting point for this tutorial. Please review it, specifically the “Recording” settings as this tutorial builds upon it including having an existing audio interface setup.
The audio level from the radio into the audio interface is typically a fixed level. Once the audio enters the audio interface, the level sent to the computer is adjustable by the RX or Receive Level controls. This tutorial will help determine the optimal setting for the RX level.
Soundcard Oscilloscope is a program that emulates an oscilloscope from signal data received from a sound card. The radio will need to monitor active digital transmissions. Tuning to HF frequencies where PSK31 (7.070/14.070), JT65 (7.076/14.076), or RTTY (7.080-7.125/14.080-14.100) transmissions can be observed are great places. The 40 and 20 meter frequencies for those are listed as those bands are more active.
This tutorial can help set the transmit level of another station by observing or monitoring their transmissions. Do this only after you’ve calibrated your receive audio and spent a good amount of time operating with no audio issues of your own. Use a quiet simplex frequency both can hear the other station. This way adjustments will not be effected by other stations on the same sideband frequency. FM won’t matter because only one station can occupy the frequency at a time.
A similar tutorial appeared in QST recently. They beat me to it, lol!
Program versions
- Windows 7 – 64 bit
- Soundcard Oscilloscope 1.46
Download and Installation
This will install Soundcard Oscilloscope on your PC.
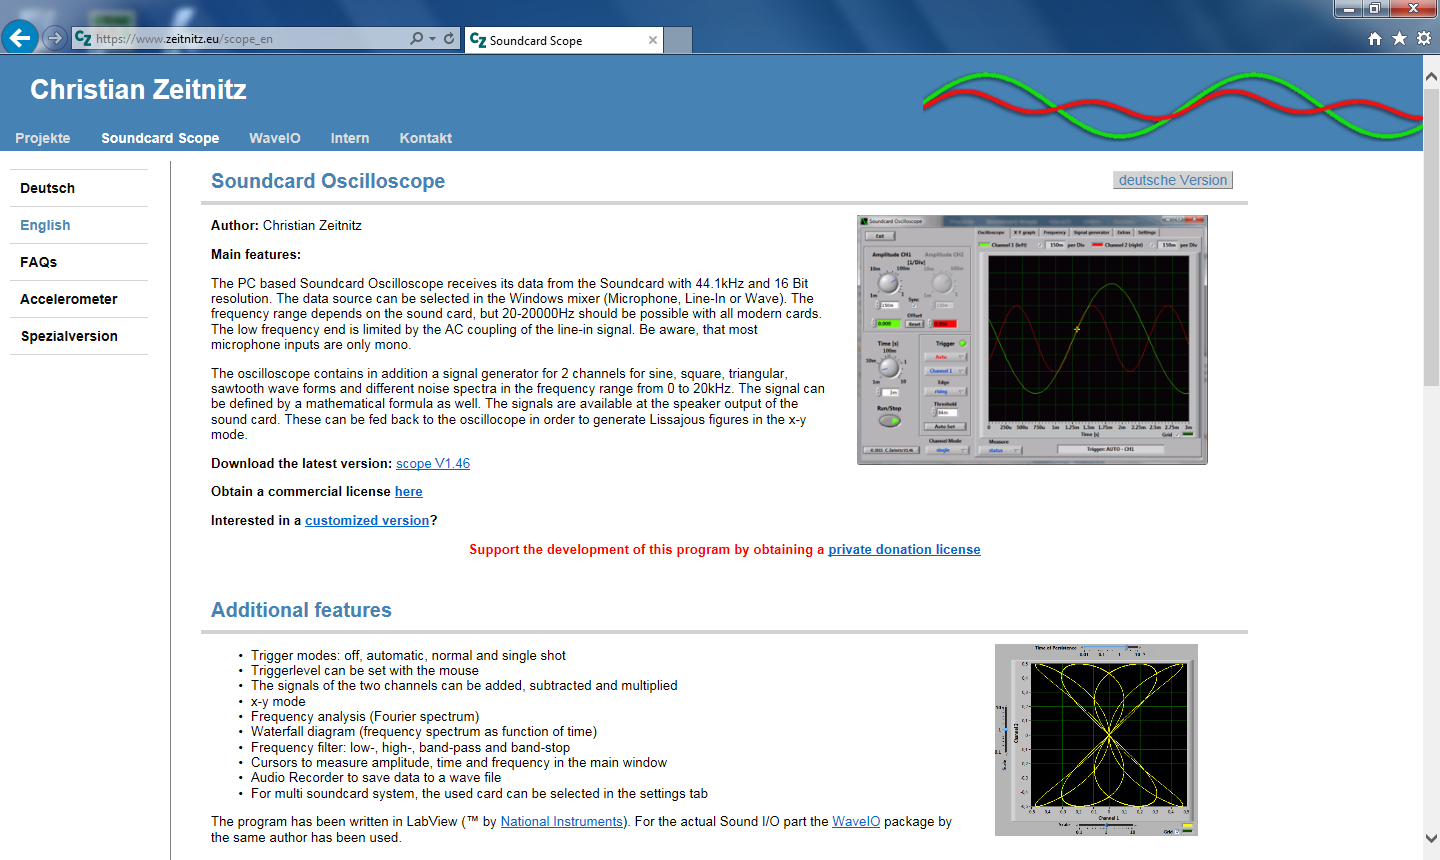
Go to https://www.zeitnitz.eu/scope_en.
Click the link to “Download the latest version.” Save it in your Downloads folder.
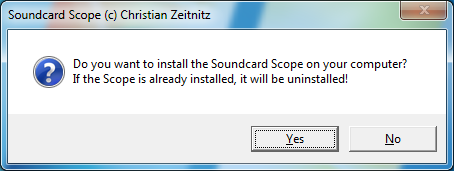
Launch the installer.
Click Yes.
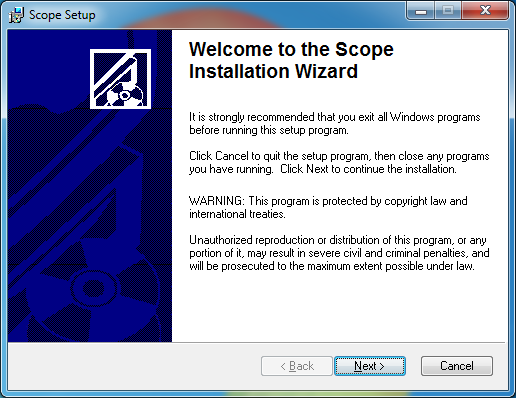
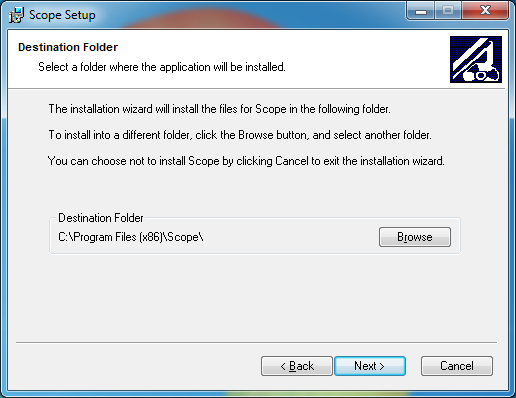
Click Next.
Click Next.
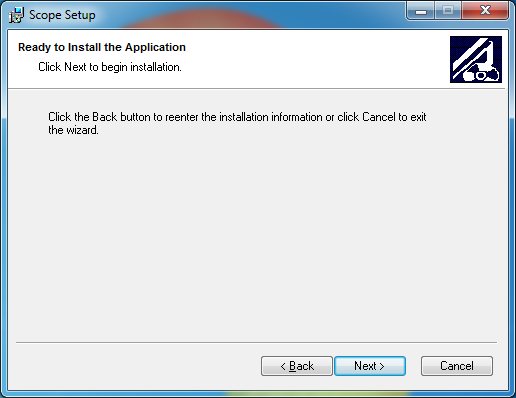
Click Next.
Installation will begin.
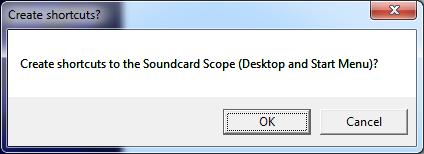
Click OK.
Click Finish.
Soundcard Oscilloscope is now installed.
Configuration
This will setup Soundcard Oscilloscope to capture audio coming from your audio interface device.
Start Soundcard Oscilloscope by clicking the Start orb.
Click All Programs.
Click Scope.
Click Scope.
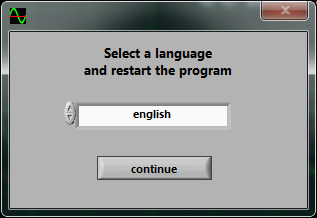
The first time the program is run, you’ll be prompted to select a language. Select your language and click Continue.
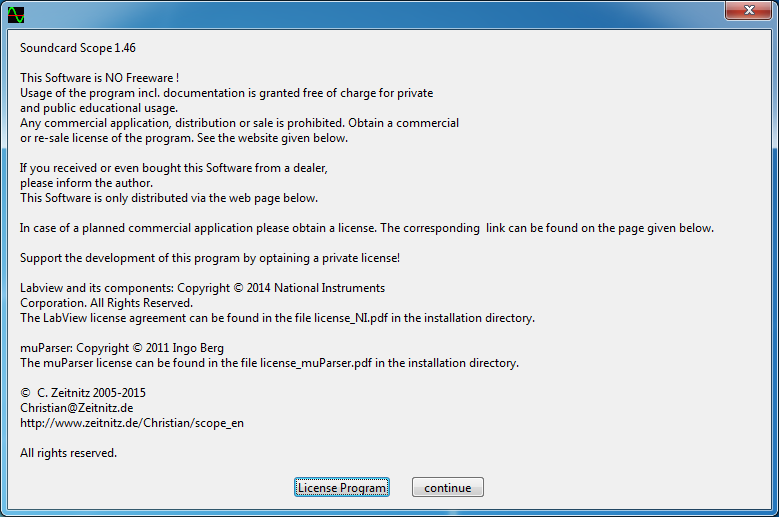
The program is not free and will ask for a License key. Not entering a license will display this screen each time the program is started. The program is less than $12.50 US. Please support the developers by purchasing a license. This is made at the download site by clicking the “private donation license” link.
Click Continue if you don’t have a license.
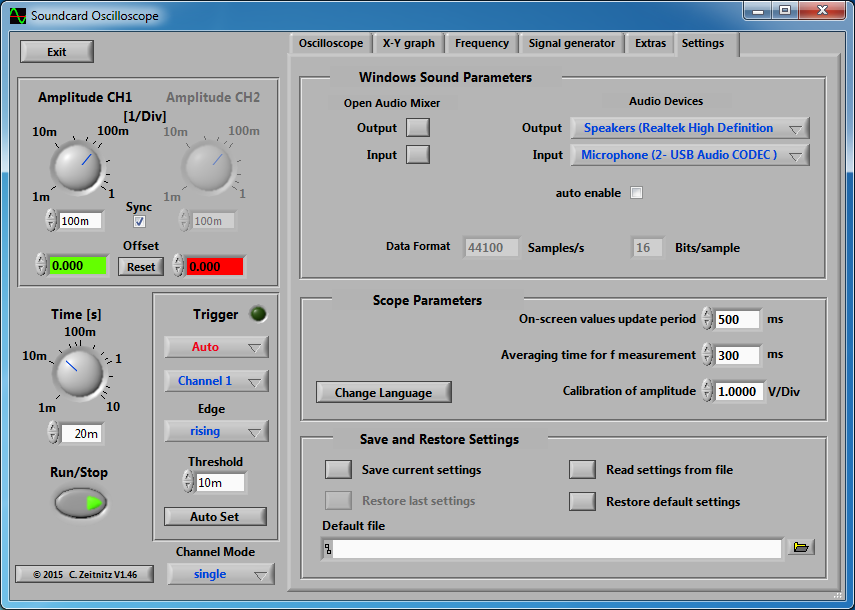
Click the Settings tab.
Under Windows Sound Parameters, Audio Devices, Input is where you select the audio interface device. For SignaLink USB, this would be Microphone USB Audio Codec. Other interfaces: Line In, or Mic In would be selected appropriately and known from my audio interface setup tutorial.
Soundcard Oscilloscope is now configured.
Setting receive level audio
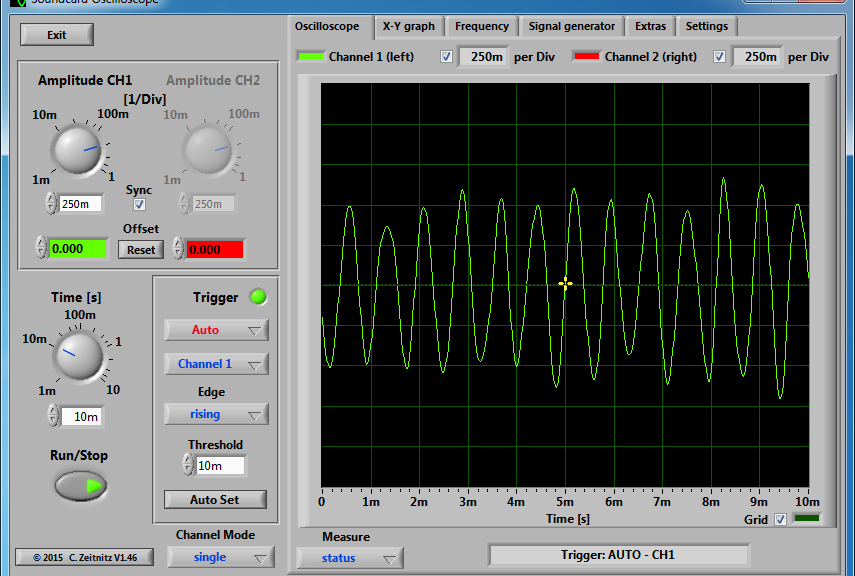
These screenshots will help determine optimal audio RX setting for receive audio. It is important to leave the audio level settings alone in Windows. These settings were shown in my audio interface setup tutorial. Adjust the settings in Windows ONLY when where is not enough audio when RX level is at the maximum setting or there is too much audio with RX set to the lowest setting.
Click the Oscilloscope tab if you are not there already.
These settings will need to be reset after restarting the program. At this point, my radio is off but it doesn’t matter.
Set the Amplitude to 250mv.
Set Time to 10ms or less.
Turn on the radio if it is not already.
Examples
Adjust the RX level until there are no peaks with flat-tops on the oscilloscope. Flat-tops indicate the audio level is too high and digital programs will have a hard time decoding the signal. These examples were taking monitoring PSK31 on 20 meters.
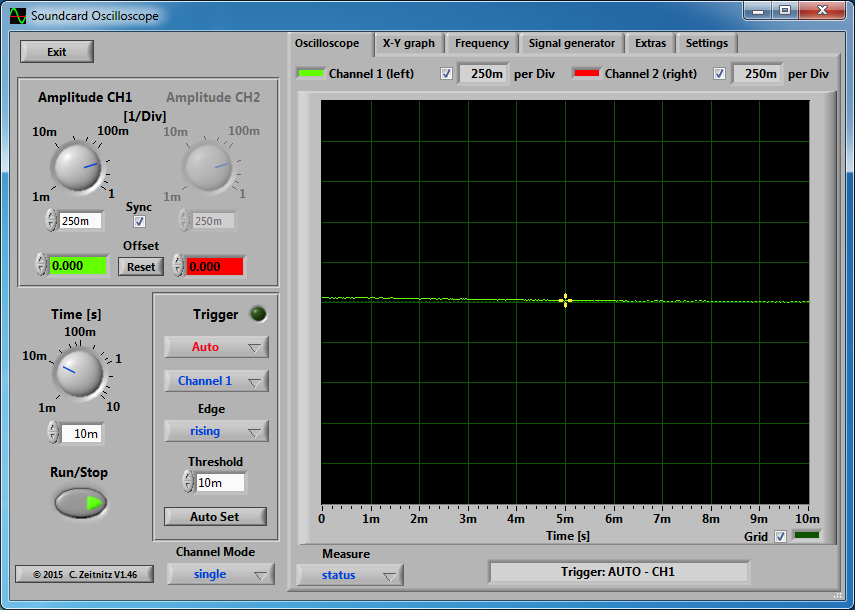
This is the best example. No flat-top peaks. Peaks appear about two divisions from the center line. There is plenty of headroom for louder signals. My RX setting was about the 10 o’clock tick-mark on my SignaLink.
Anything lower than two divisions will still work. There maybe issues pulling out weaker stations.

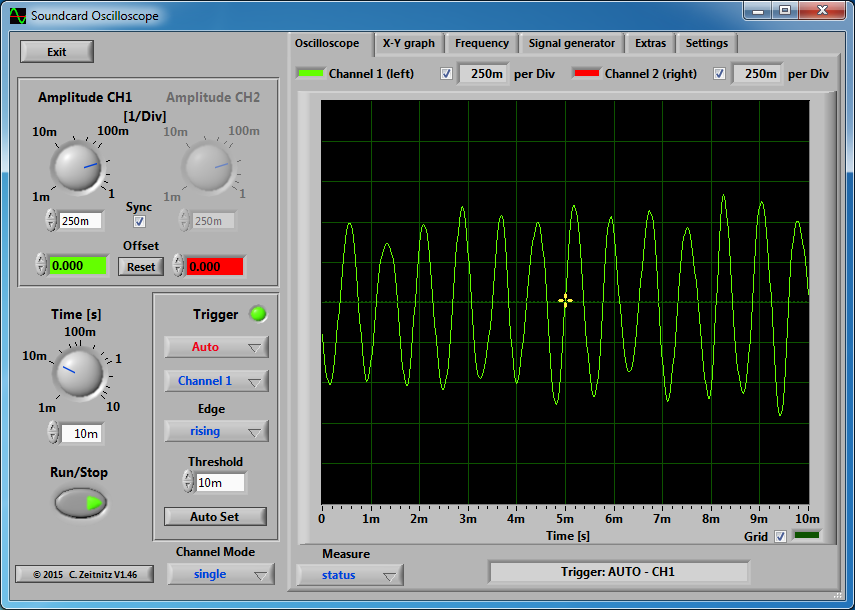
Here is a good example but I would not be comfortable with this audio level. The peaks do not have flat-tops which is good. However, the peaks are reaching well into the third division. My RX setting was about the 11 o’clock tick-mark on my SignaLink.
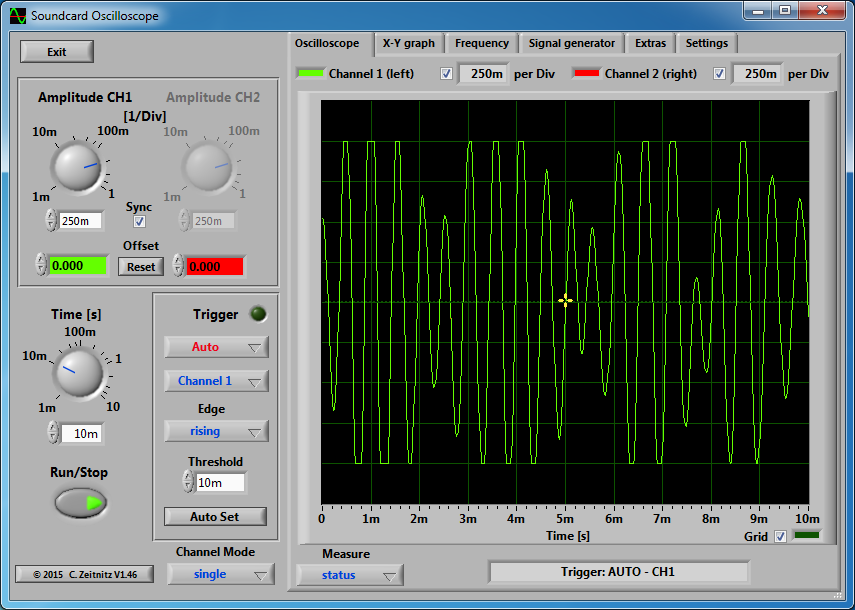
This is an example of what the scope should not look like. Peaks have flat-tops at the fourth division. The audio level is too high into the computer and RX volume needs to be dialed back. My RX setting was about the 1 o’clock tick-mark on my SignaLink.
When optimal level is reached, the audio interface receive audio level is calibrated!